 This post is part of the In Microsoft Dynamics 365 Business Central (Inventory and Warehouse Management), how do I… series and of the wider In Microsoft Dynamics 365 Business Central, how do I… series which I am posting as I familiarise myself with Microsoft Dynamics 365 Business Central.
It is not possible to create a warehouse pick document by itself; warehouse picks can only be created from a warehouse shipment:
- In a push fashion, where you use the Create Pick action in the Warehouse Shipment page. Select the lines to be picked and prepare the picks by specifying, for example, which bins to take from and place in, and how many units to handle. Bins can be predefined for the warehouse location or resource.
- In a pull fashion, where you use the Release action in the Warehouse Shipment page to make the items available for picking. Then, on the Pick Worksheet page, warehouse employees can use the Get Warehouse Documents action to pull their assigned picks.
In this post, I will be covering the first method outlined above; I’ll cover the second method in a future article.
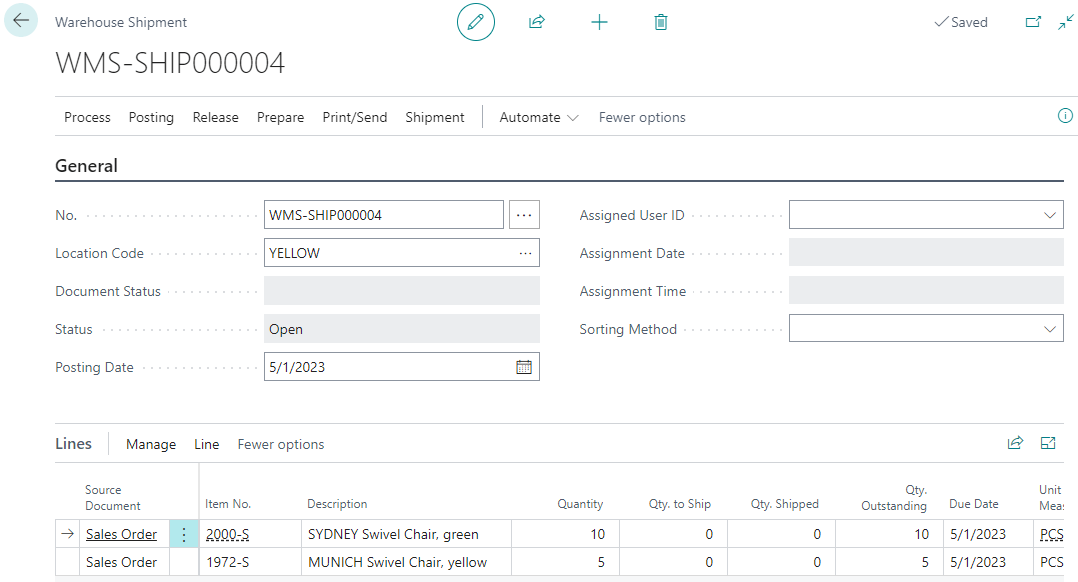
The start of the pick/shipment process is very similar to the warehouse shipment process I covered a couple of articles ago, where a warehouse shipment is created as the first step:
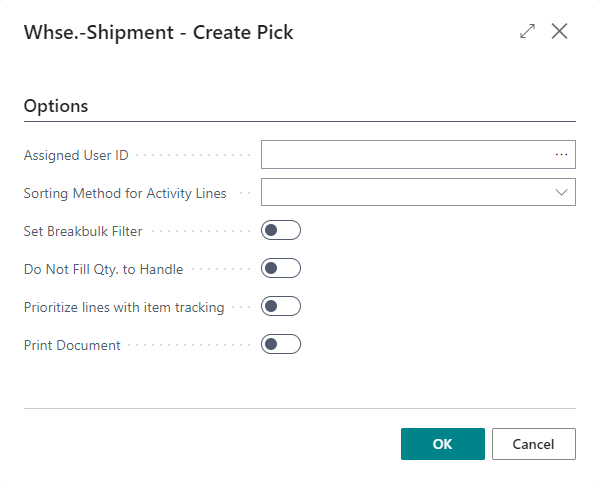
To create the pick, click the Process » Create Pick… action. There are a few options, such as assigning to a specific user, printing the document, but these don’t have to be set; click OK to create the pick:
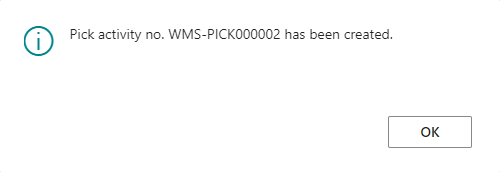
A confirmation dialog will be displayed with the pick number:
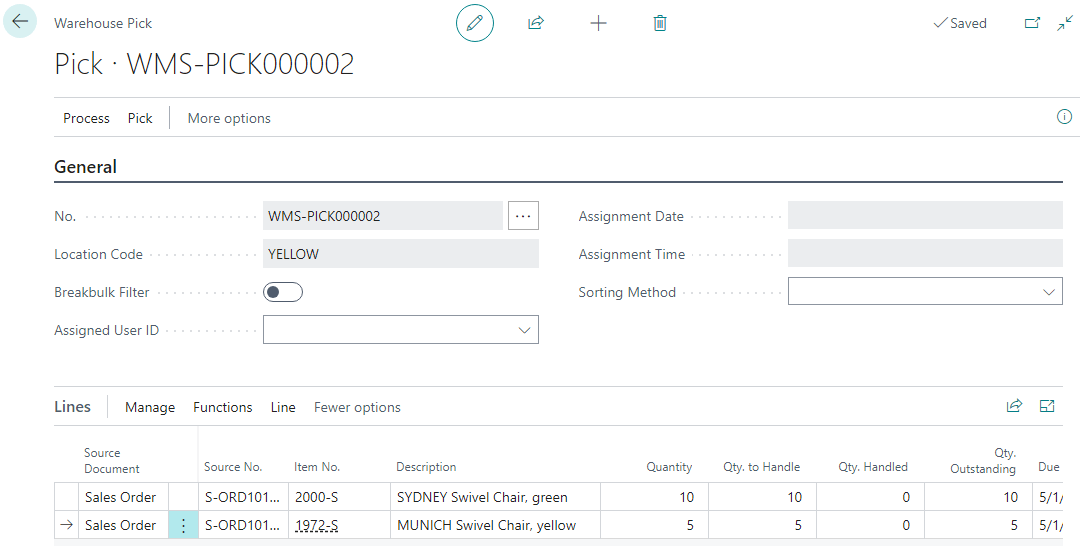
Search for and open the Warehouse Pick page and select the pick you want to process. On this window, you can delete lines if you aren’t picking them, reduce the Qty. To Handle from the default of full pick to whatever quantity is to be picked:
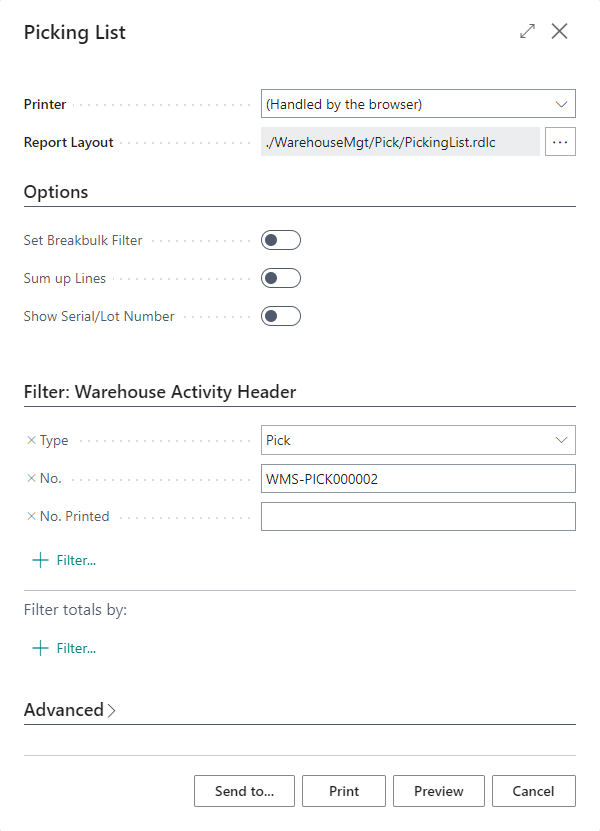
The picking list can be printed by clicking the Process » Print… action; Depending on your picking/shipping process there are some options you can pick on the print dialog, such as sum up lines or show Serial/Lot number.
Click Print to print the picking list:
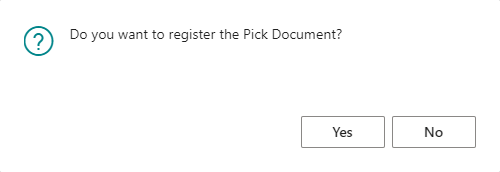
When the goods have been picked, click the Process » register Pick action and, when prompted, click Yes:
Once the pick has been registered, a user can return to the shipment and click the Posting » Post Shipment… or Posting » Post and Print… action to complete the shipment notice:
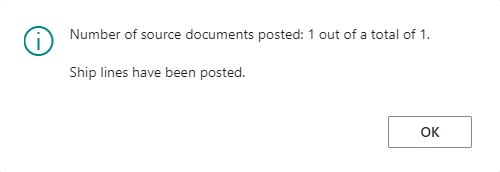
A shipment posting confirmation message will be displayed:
The sales order lines will be flagged as shipped and be ready for converting to invoice.
In Microsoft Dynamics 365 Business Central, how do I…
In Microsoft Dynamics 365 Business Central (Inventory and Warehouse Management), how do I…
What should we write about next?
If there is a topic which fits the typical ones of this site, which you would like to see me write about, please use the form, below, to submit your idea.




2 thoughts on “In Microsoft Dynamics 365 Business Central (Inventory and Warehouse Management), how do I… Post Pick From a Warehouse Pick Document and Post Shipment From a Warehouse Shipment Document”