ClassicPress Plugin Development: Create a Custom Image Path and URL for Code Potent’s Update Manager

ClassicPress PluginsThis post is part of the ClassicPress Plugin Development series in which I am going to look at both best practice for developing plugins and how I approach some requirements as well as some of the functions I commonly use.

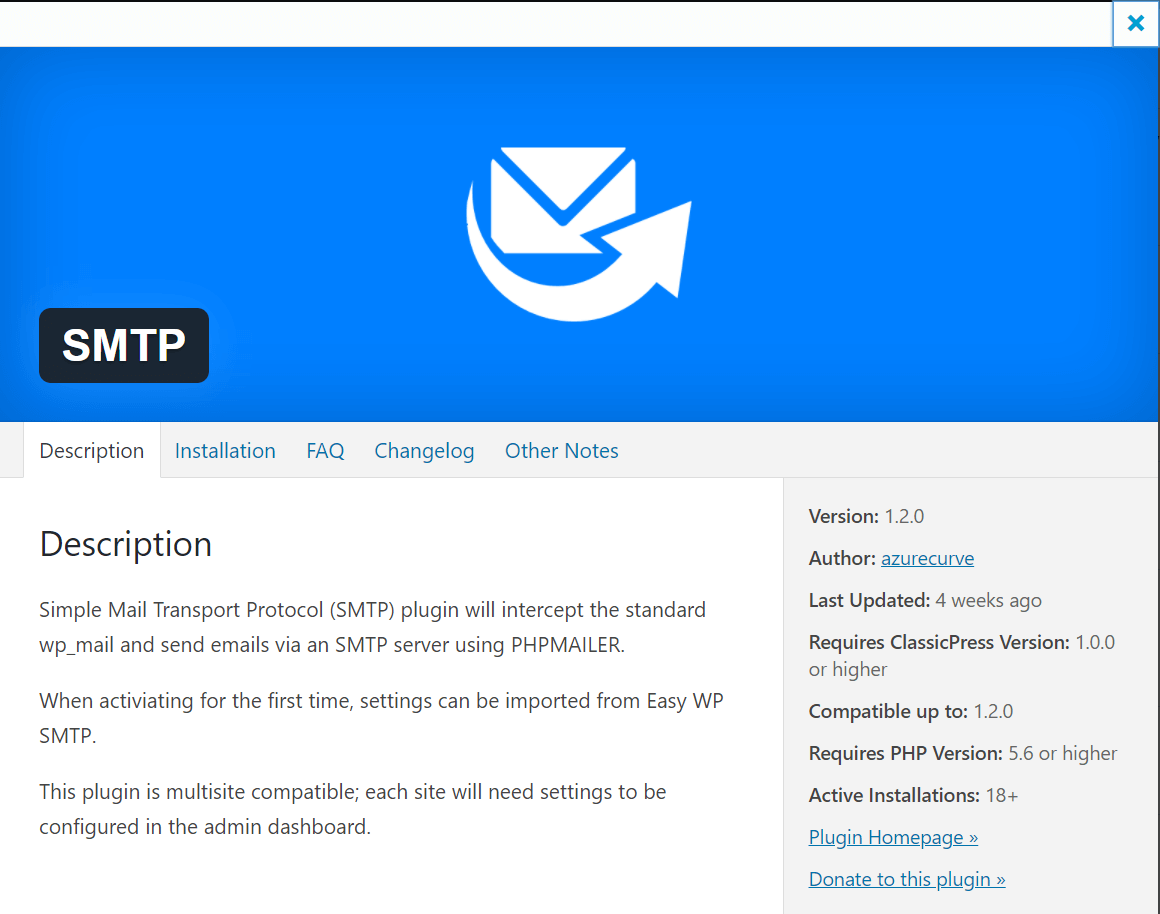
Plugins using the Code Potent Update Manager plugin can have a banner and icon images added to them which are used on the plugin within the admin dashboard. By default these will be in an /images folder in the root folder of the plugin.

There are filters available which allow you to move these images to another folder. This is something I do as I prefer to have the stylesheets, jquery and images in an /assets folder.

There are two filters available:

  • codepotent_update_manager_image_path which allows you to set the folder path to the images.
  • codepotent_update_manager_image_url which allows you to set the url to the images.

This is an example of the filters in use in my Maintenance Mode plugin:

add_filter('codepotent_update_manager_image_path', 'azrcrv_mm_custom_image_path');
add_filter('codepotent_update_manager_image_url', 'azrcrv_mm_custom_image_url');

Each of the filters calls a function which returns the amended path or url respectively.

This is the image path function:

/**
 * Custom plugin image path.
 *
 * @since 1.0.0
 *
 */
function azrcrv_mm_custom_image_path($path){
    if (strpos($path, 'azrcrv-maintenance-mode') !== false){
        $path = plugin_dir_path(__FILE__).'assets/pluginimages';
    }
    return $path;
}

This is the image url function:

/**
 * Custom plugin image url.
 *
 * @since 1.0.0
 *
 */
function azrcrv_mm_custom_image_url($url){
    if (strpos($url, 'azrcrv-maintenance-mode') !== false){
        $url = plugin_dir_url(__FILE__).'assets/pluginimages';
    }
    return $url;
}

With these filters in place, I can move the images into the /assets folder and still have them work on the plugin details and updates pages.

Click to show/hide the ClassicPress Plugin Development Series Index

ClassicPress Plugin Development: Create a Plugin Update Endpoint Using Code Potent’s Update Manager

ClassicPress PluginsThis post is part of the ClassicPress Plugin Development series in which I am going to look at both best practice for developing plugins and how I approach some requirements as well as some of the functions I commonly use.

With Code Potent’s Update Manager added to a plugin, a plugin update endpoint can now be created on the update server.

On your update server click New » Plugin Endpoint.

New plugin

Continue reading “ClassicPress Plugin Development: Create a Plugin Update Endpoint Using Code Potent’s Update Manager”

ClassicPress Plugin Development: Integrating Code Potent’s Update Manager into a Plugin

ClassicPress PluginsThis post is part of the ClassicPress Plugin Development series n which I am going to look at both best practice for developing plugins and how I approach some requirements as well as some of the functions I commonly use.

The process for adding the Update Manager client to a plugin is quite straightforward.

Once you have downloaded the Update Manager, copy the UpdateClient.class.php file into your plugin folder; I add it to the libraries folder. Once you’ve done this, require_once the file in your plugin:

require_once(dirname(__FILE__).'/libraries/updateclient/UpdateClient.class.php');

There are three lines in the UpdateClient.class.php which need to be changed.

The first is in the namespace declaration where you need to change this to your developer name \ your plugin name. The below is an example for my Add Open Graph Tags plugin:

// EDIT: Make this unique. Example: YourDevName\YourPluginName;
namespace azurecurve\azrcrv_aogt;

The second is to set the update server URL; this is the domain of the ClassicPress site which wll be running the Update Manager plugin (I covered this in the previous post):

// EDIT: URL where Update Manager is installed; with trailing slash!
const UPDATE_SERVER = 'https://update.development.azurecurve.co.uk/';

The third needs to be set to plugin as the Update Manager supports themes as well as plugins:

// EDIT: plugin or theme?
const UPDATE_TYPE = 'plugin';

With the above done, Update Manager has been added to the plugin which means this plugin can now server updates to users which they can easily apply to their sites through the admin dashboard. In the next post, I’ll show how to create a plugin update endpoint which servers updates to users.

Click to show/hide the ClassicPress Plugin Development Series Index

ClassicPress Plugin Development: Create a Plugin Update Server Using Code Potent’s Update Manager

ClassicPress PluginsThis post is part of the ClassicPress Plugin Development series in which I am going to look at both best practice for developing plugins and how I approach some requirements as well as some of the functions I commonly use.

WordPress manages plugin updates via the Plugin Repository; ClassicPress are building a plugin directory, but the version which will allow updates to be pushed is some time away. To close this functionality gap, there is a plugin available which allows plugin developers to host their own update site and push updates out for their plugins.

This plugin is the Update Manager plugin from Code Potent. I have integrated this into all of my publicly available plugins so any time I release a new version this is pushed out to all users.

There is a full documentation set available from Code Potent.

The process of creating an update server is quite easy and you can use an existing ClassicPress site if you want. I opted to create a new site rather than adding to an existing one, but the process is no different.

Download the latest Update Manager version and using the Add Plugins page upload the download Update Manager zip and activate the plugin.

Your update server is now up and running; the next step is to add the Update Manager client to your plugin, which I will be covering in the next post.

Click to show/hide the ClassicPress Plugin Development Series Index

ClassicPress Plugin Development: Develop for Accessibility

ClassicPress PluginsThis post is part of the ClassicPress Plugin Development series in which I am going to look at both best practice for developing plugins and how I approach some requirements as well as some of the functions I commonly use.

in the last post, I discussed how plugins should be developed for them to be translated (internationalization); you should also develop for accessibility (often abbreviated as a11y as there are 11 letters between the letters l and n.

The A11y Project website has a lot of good resources which can help get you started with developing for accessibility and as they say, on their about page, “[a]ccessibility is incredibly important, yet often overlooked in traditional digital design and development education…”.

Unfortunately, this post is more of a “do as I say, not as I do” because I have nt been developing with accessibility in mind. There are certain ways of coding which I have picked up in the past whic do fit the accessibility patterns, but this is more fortuitous happenstance than deliberate design. It recently came up on the ClassicPress Forum when Marco Zehe joined the community.

Reading an interview he did with Deborah Edwards-Onoro of Lireo Designs this reiterated that accessibility should not just be a nice to have, but a requirement as without it, sites will not be accessible to many users. One of the reasons he gave for looking at ClassicPress is the forced introduction of the block editor (formerly Gutenburg editor) into WordPress which has many series accessibility problems.

Plugins form a major part of the ClassicPress, and WordPress, ecosystems with many of them outputting content to users and this should always be done in an accessible way; it’s not just the front end content which needs to be accessible, it is also the settings pages in the admin dashboard.

As with internationalization, adding accessibility to an existing plugin will take a lot more effort than designing and coding the plugin for accessibility from the start. This is a task which I have added to my development list to look at as soon as possible; unfortunately with a lot of ClassicPress plugins this is not going to be a small task.

The A11Y Project website has links to a lot of resources to help with accessibility design including a checklist.

Click to show/hide the ClassicPress Plugin Development Series Index

ClassicPress Plugin Development: Develop for Translation

ClassicPress PluginsThis post is part of the ClassicPress Plugin Development series in which I am going to look at both best practice for developing plugins and how I approach some requirements as well as some of the functions I commonly use.

When developing plugins for ClassicPress, you should plan and develop for the plugin to be translatable. There are many posts on translation of plugins for WordPress which will also apply to ClassicPress. I did a series in late 2019 on ClassicPress Plugin Development where I covered the why and how of developing plugins so they can be translated.

Two key terms in this process are internationalization (often abbreviated as i18n as there are 18 letters between the letters i and n) which is the process of developing a plugin so it can easily be translated into other languages and localization (often abbreviated as l10n as there are 10 letters between the letters l and n) is the process of translating an internationalized plugin.

Developing your plugins using the principles of internationalization, allows other to localize your plugin by translating it into their language. Plugins I develop are all in English, as that is my primary language, but having internationalized them during developed, anyone can now translate them into the language used by their site without needing to modify any code.

As I noted in this post, when I started developing plugins I did not internationalize any of the strings and then had to go back and find every single string in all the plugins, but new plugins I internationalize from the start and this takes far less effort overall.

Internationalizing your plugins will widen the market for your plugin to countries outside of those which use your language.

Click to show/hide the ClassicPress Plugin Development Series Index

ClassicPress Plugin Development: Add an index.php to Every Folder

ClassicPress PluginsThis post is part of the ClassicPress Plugin Development series in which I am going to look at both best practice for developing plugins and how I approach some requirements as well as some of the functions I commonly use.

Putting an index.php in every folder is technically required and websites should be configured to disallow directory browsing anyway, but as plugins will e used by many different people, I would generally call putting one into every folder best practice as your plugin could be installed on a website which is allowing directory browsing and this will stop people seeing a list of the files.

Classicpress itself uses an index.php file to stop directory browsing:

<?php
// Silence is golden.

There is no requirement for the file to include any code or text, but in all of my plugins I use a file similar to the above in every folder.

Click to show/hide the ClassicPress Plugin Development Series Index

ClassicPress Plugin Development: Format of a Plugin Header

ClassicPress PluginsThis post is part of the ClassicPress Plugin Development series in which I am going to look at both best practice for developing plugins and how I approach some requirements as well as some of the functions I commonly use.

As with the readme.txt file, the main plugin file needs a header containing information related to the plugin. The bare minimum which is needed in the header is the plugin name:

/**
 * Plugin Name: {plugin name}
 */

The fields which can be used are:

  • Plugin Name: The name of your plugin, which will be displayed in the Plugins list in the ClassicPress admin dashboard.
  • Plugin URI: The unique home page of the plugin
  • Description: A short description of the plugin which will be displayed in the Plugins section in the admin dashboard. It should be shorter than 140 characters.
  • Version: The current version number of the plugin, such as 1.0.0 or 1.0.3.
  • Requires at least: The lowest ClassicPress version that the plugin will work on.
  • Requires PHP: The minimum required PHP version.
  • Author: The name of the plugin author (separate multiple authors with commas).
  • Author URI: The author’s website or profile on another website.
  • License: The short name (slug) of the plugin’s license (e.g. GPLv2).
  • License URI: A link to the full text of the license (e.g. https://www.gnu.org/licenses/gpl-2.0.html).
  • Text Domain: The gettext text domain of the plugin. More information can be found in the Text Domain section of the How to Internationalize your Plugin page.
  • Domain Path: The domain path tells ClassicPress where to find the translations.

The below example is what I use for my plugins:

/**
 * ------------------------------------------------------------------------------
 * Plugin Name: {plugin name}
 * Description: {short description}
 * Version: {version}
 * Author: {author}
 * Author URI: {author url}
 * Plugin URI: {plugin url}
 * Text Domain: {text domain}
 * Domain Path: {domain path}
 * ------------------------------------------------------------------------------
 * This is free software released under the terms of the General Public License,
 * version 2, or later. It is distributed WITHOUT ANY WARRANTY; without even the
 * implied warranty of MERCHANTABILITY or FITNESS FOR A PARTICULAR PURPOSE. Full
 * text of the license is available at https://www.gnu.org/licenses/gpl-2.0.html.
 * ------------------------------------------------------------------------------
 */

In the above example, the text in braces {} would be replaced with the required text.

Click to show/hide the ClassicPress Plugin Development Series Index

ClassicPress Plugin Development: Format of a Plugin readme.txt

ClassicPress PluginsThis post is part of the ClassicPress Plugin Development series in which I am going to look at both best practice for developing plugins and how I approach some requirements as well as some of the functions I commonly use.

A ClassicPress plugin should have a readme.txt file. A readme file is where you “sell” your plugin, it’s features and benefits and why users would want to use it over the competition. Being clear and concise in your explanations will be of benefit.

This file explains what the plugin does, what features it has and is used to present this and other information to the users when they view the plugin details page through their ClassicPress site. This is an example of the plugin details for my SMTP plugin:

Plugin details page

As you can see the user first sees the description, but there are a number of other tabs available as well, which are configured in the readme file which are created using a form of Markdown which allows the file to be human readable no matter how it is viewed (unlike HTML markup).

At the basic level, a plugin file does not need to contain much information. Below is an example of the template used by the Update Manager I use for updating my plugins (while the ClassicPress Directory is in development:

=== Plugin Name Here ===

Version:           1.0.0
Requires:          1.0.0
Download link:     https://

== Description ==

This text displays in the modal windows; it is required. Write something!

Continue reading “ClassicPress Plugin Development: Format of a Plugin readme.txt”

ClassicPress Plugin Development: Structure of a Plugin

ClassicPress PluginsThis post is part of the ClassicPress Plugin Development series in which I am going to look at both best practice for developing plugins and how I approach some requirements as well as some of the functions I commonly use.

Before you start developing a plugin, I’d recommend deciding on the plugin structure you want to use. At the simplest level, a plugin only actually requires the file which holds enough code for the plugin and the folder it sits within, but in reality you will have other files which are needed as well, such as style sheets, language files, images and so on.

Planning a structure for the plugin will ensure your plugin files are well organised which will make it easier to work with both now and again in future.

John Alarcon of Code Potent, did a blog post on this subject a while ago. I use a structure fairly similar to the one he described, and have used the same format for showing the structure I use.

Continue reading “ClassicPress Plugin Development: Structure of a Plugin”