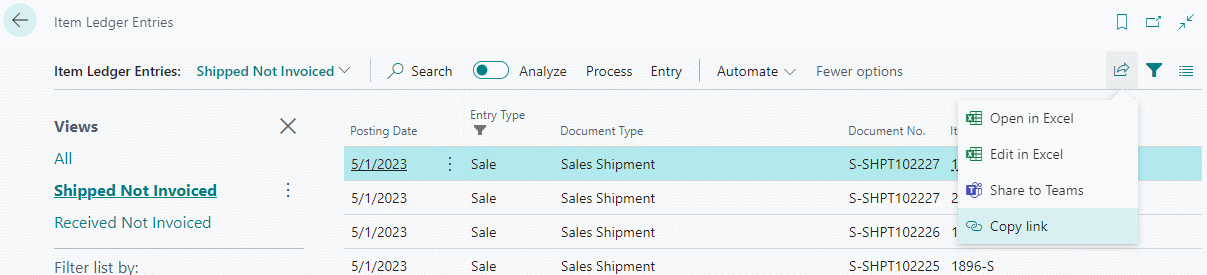
 While working with a client recently to implement Microsoft Dynamics 365 Business Central, they reported an error to me during UAT when trying to test the sales process. They’d raised and shipped a sales order and were now trying to use the Get Shipment Lines function on the Sales Invoice page, but when selecting the shipment lines they were receiving this error:
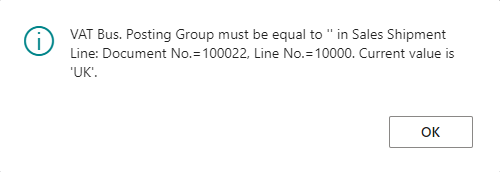
VAT Bus. Posting Group must be equal to '' in Sales Shipment Line: Document No.=100022. Current value is 'UK'.
I did a little investigation with them and discovered that the error was for a single customer; shipment lines for other customers could be selected without problem.
It turned out the root cause was that the customer did not have a VAT Bus. Posting Group selected on the customer card; this field would default to the sales order header and then pull through to the order lines as they are added. Because it was missing, the user had manually added the VAT details to the order lines, but not the header. When the sales invoice was raised, the VAT Bus. Posting Group did not default to the header, so when the shipment lines were selected there was a mismatch resulting in the error message.
Once the VAT was added to the header (and the customer card so it would default in future), the sales shipment lines could successfully be added to the invoice.
I had advised the customer that customer templates should be used to default in the required fields on customers as they are created, but they had not done this. A customer template created for each geography (UK, EU, ROW) would have allowed the VAT Bus. Posting Group, and other posting groups and fields like payment terms, to default when the customer was created.


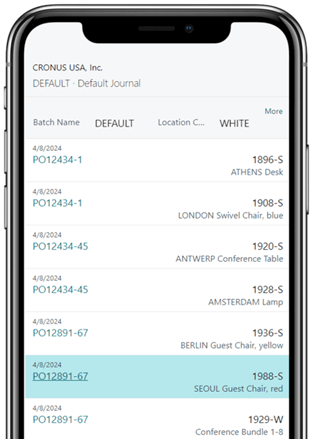
 In our most recent webinar here at MADIC dynamics, we took a look at Jet Reports & Business Central.