 Microsoft Dynamics GP 2018 R2 was released on the 2nd October. In this series of posts, I’ll be going hands on and installing the majority of the components; some of them, such as Analysis Cubes for Excel, which are little used, I won’t be covering.
The series index will automatically update as posts go-live in this series.
With the first first client now installed we need to deploy the server objects.
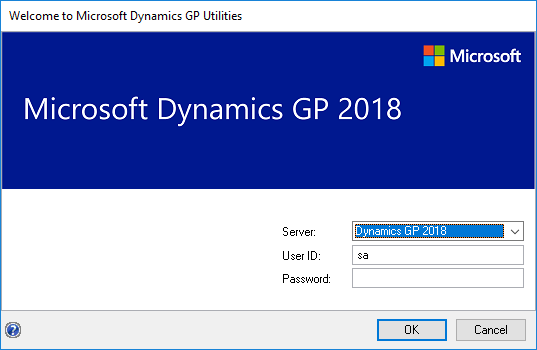
Back in the day, there was seaprate server and client compenents, but this changed with Microsoft Dynamics GP 10; now the server objects are deployed from a client install. To deploy the server components, start GP Utilities and log in using the sa account:
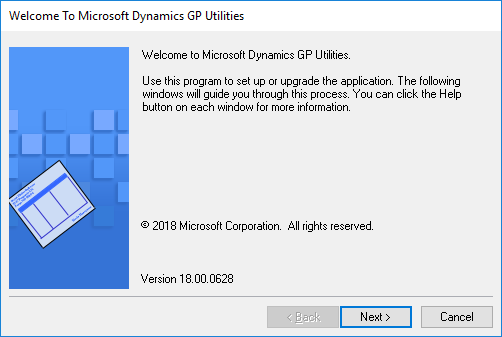
On the Welcome screen, click Next:
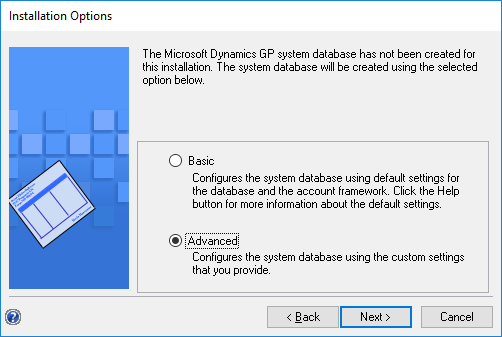
Select the
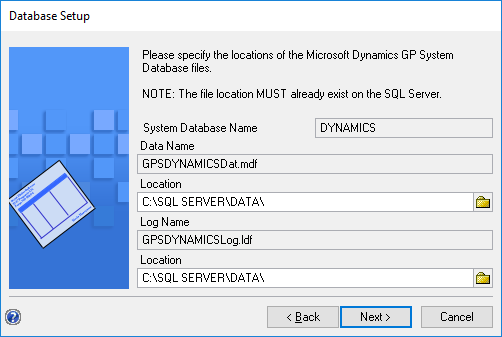
The Location fields will not default to the correct values (or at least they never do for me), so enter the correct paths and click Next:
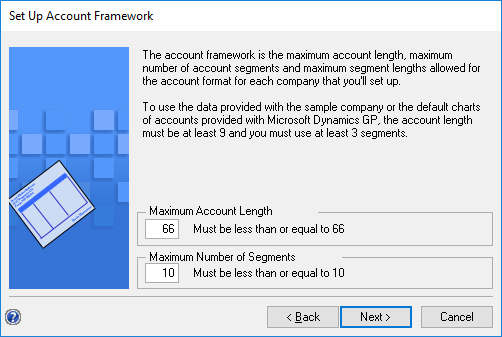
When installing Dynamics GP, I wlasy set the Maximum Account Length to 66 and the Maximum Number of Segments to 10; this gives the maximum size available for the account strings. While you might not need this initially, it gives plenty of scope for growth.
Click Next to proceed:
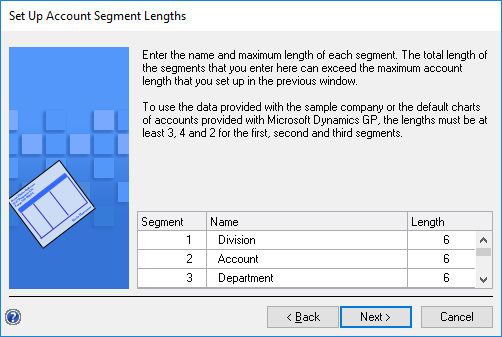
Enter Names for the segments and click Next:
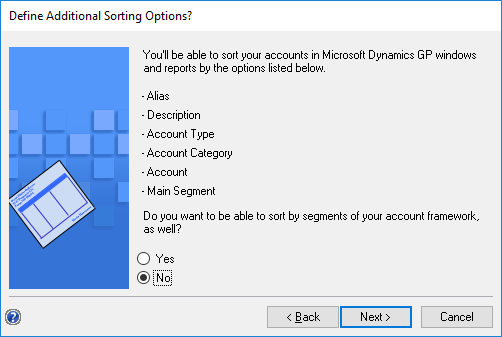
Choose whether you want tod efine additional sorts (I have opted for No; if you select Yes there will be another step after this where you select the additional sorts.
Click Next:
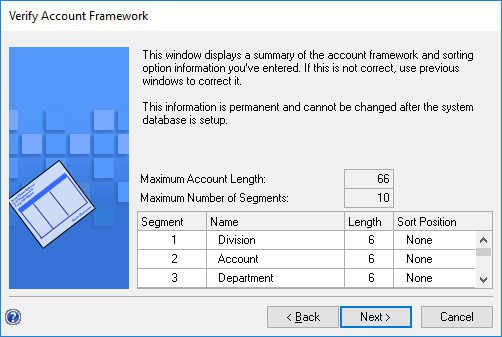
Verify the account framework and click Next if you’re happy to proceed:
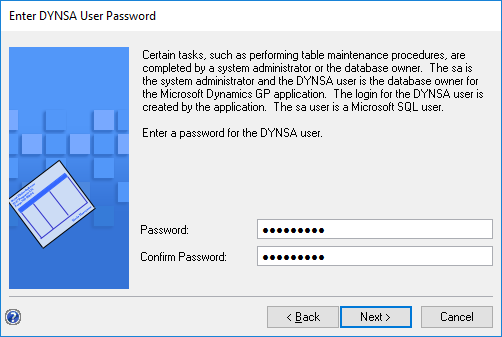
Enter and confirm the password for the DYNSA account and click Next:
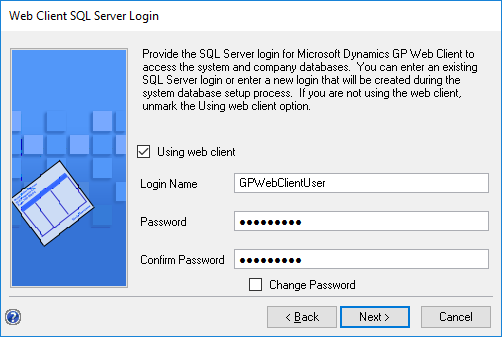
If you’re going to be installing the web client, as I am, mark the Using web client checkbox and enter the user credentials which are to be used for the web client proxy account. Click Next:
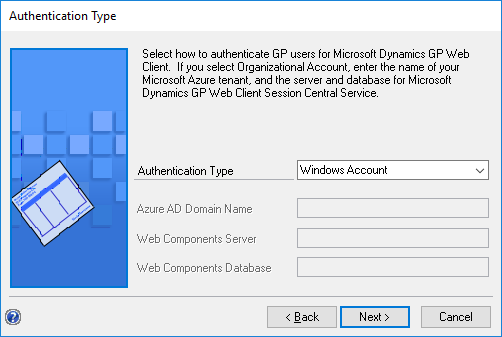
Select your Authentication Type; I am using the default of Windows Account as I am installing this on a local Windows server:
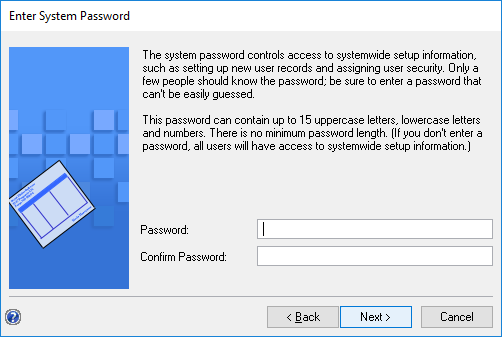
Enter and confirm a System Password and click Next:
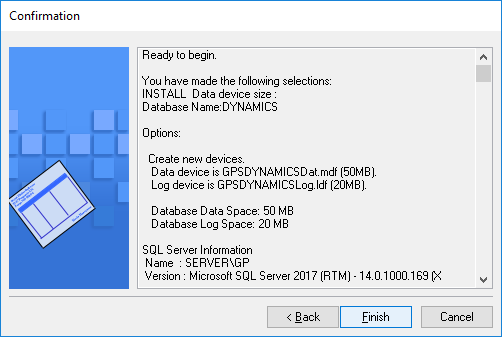
Review your selections on the Confirmation step and click Finish:
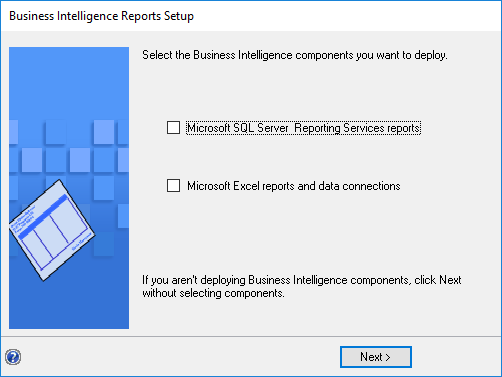
I am not marking any boxes on the Business Intelligence Reports Setup step as I will handle this later. Click Next to proceed:
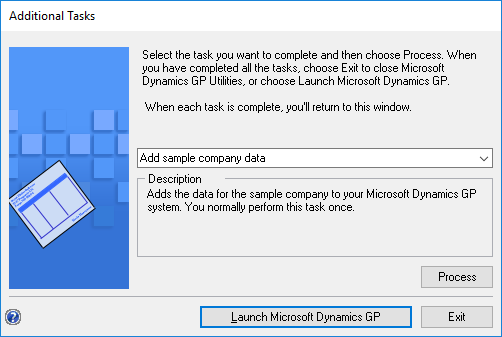
The next shown step is the Additional Tasks one; I will be adding the sample company data, but will do this in the next post:
Click to show/hide the Hands On with Microsoft Dynamics GP 2018 R2 Series Index
What should we write about next?
If there is a topic which fits the typical ones of this site, which you would like to see me write about, please use the form, below, to submit your idea.


1 thought on “Hands On with Microsoft Dynamics GP 2018 R2: Deploy System Database”