 Microsoft Dynamics GP 2018 R2 was released on the 2nd October. In this series of posts, I’ll be going hands on and installing the majority of the components; some of them, such as Analysis Cubes for Excel, which are little used, I won’t be covering.
The series index will automatically update as posts go-live in this series.
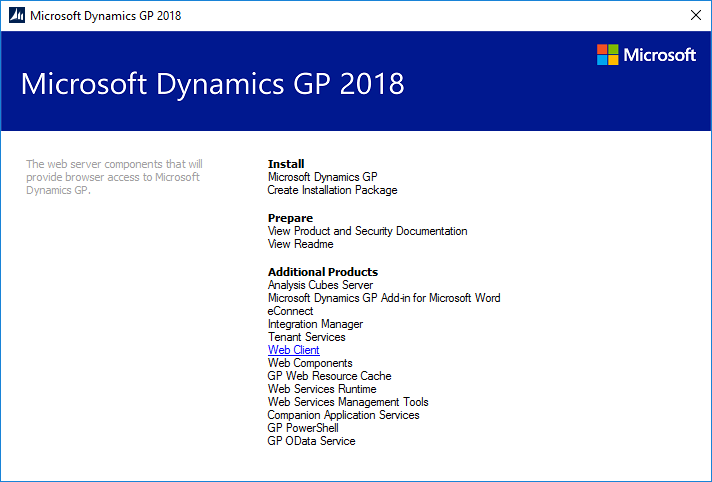
After addin the web client runtime feature, the next step is to install the web client itself. Do this by launching the Dynamics GP 2018 R2 setup utility and, under Additional Products, select Web Client:
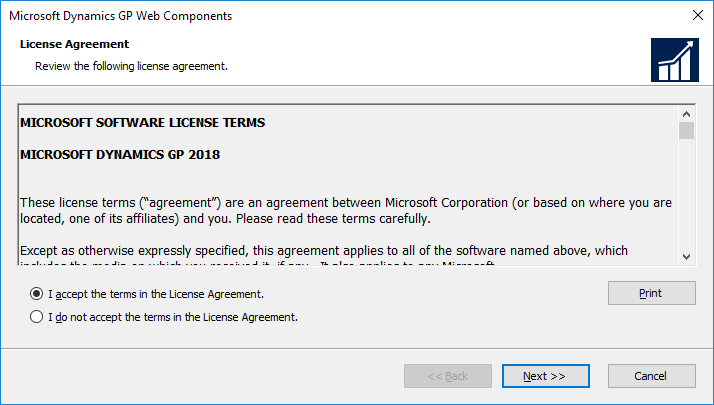
Accept the terms of the licence agreement by marking the box and clicking Next:
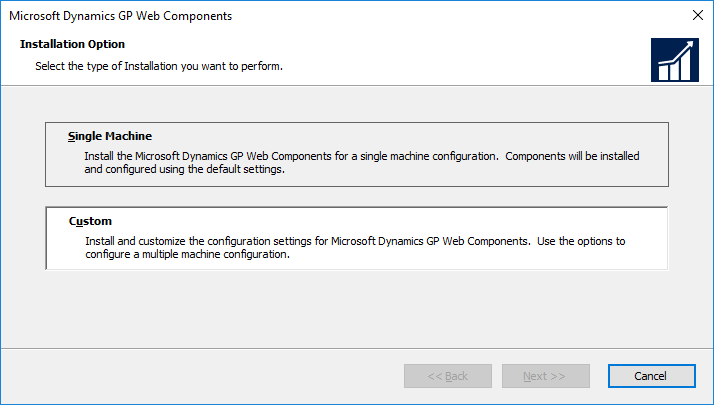
I am only going to be installing the web client at this stage, so select Custom and click Next:
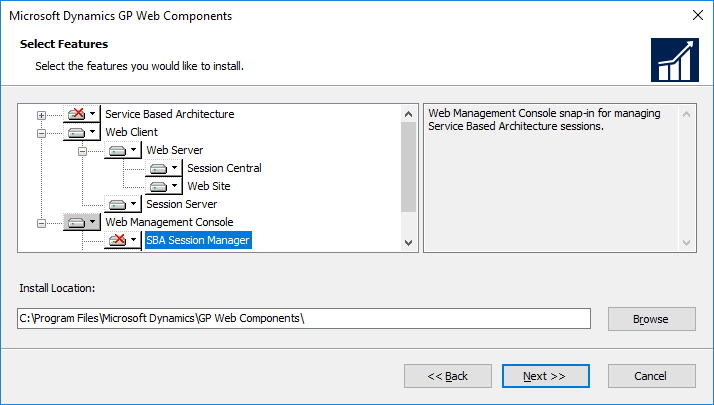
As I am only installing theweb client, deselect Service Based Architecture and SBA Session Manager; as we’re only doing a single-machine deployment, also ensure Tenant Manager is not selected (this is only required for a multi-tenant installation).
Confirm the installation path and click Next:
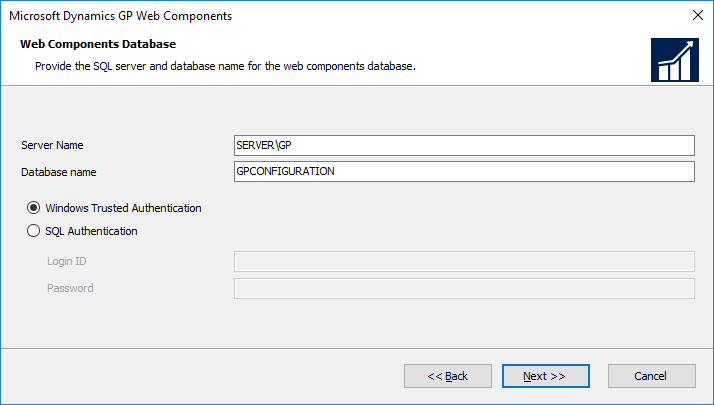
Enter the full SQL Server instance name of the SQL Server which will be host to the web client database in the Server Name field. Select an Authentication method and click Next:
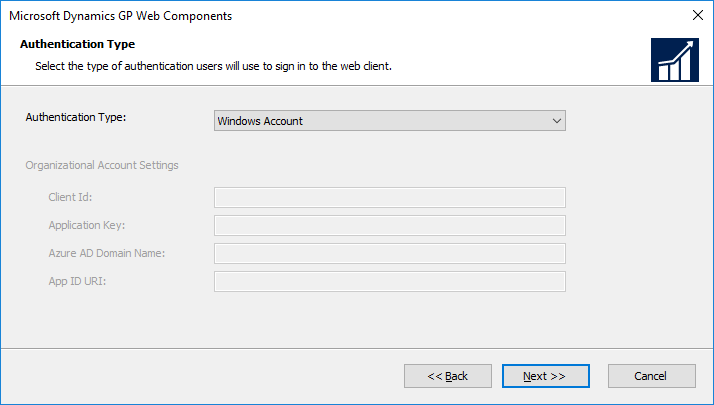
An Authentication Type needs to be set; this is how users will be authenticated as they sign into the web client; if, like me, you’re installing on a normal Windows Server, leave the drop-down set to Windows Account:
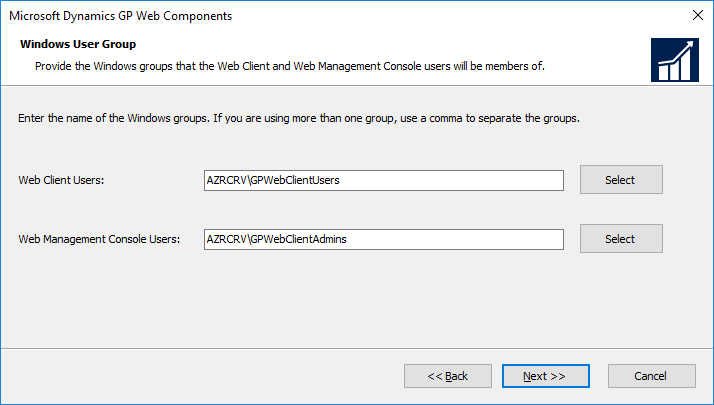
Assign the Web Client Users and Web Client Administrators groups and click Next:
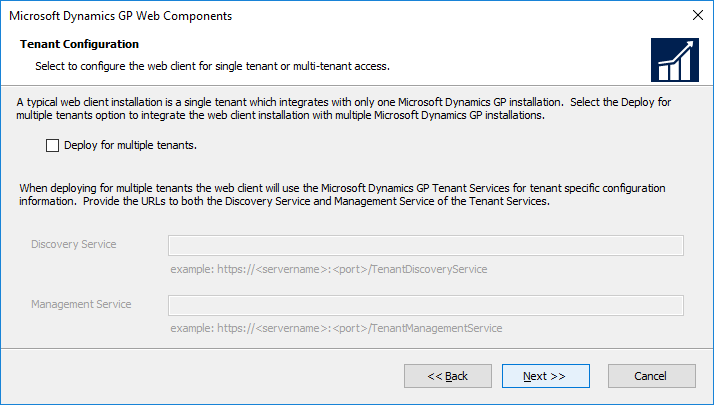
Leave Deploy for multuiple tenants unmarked and click Next:
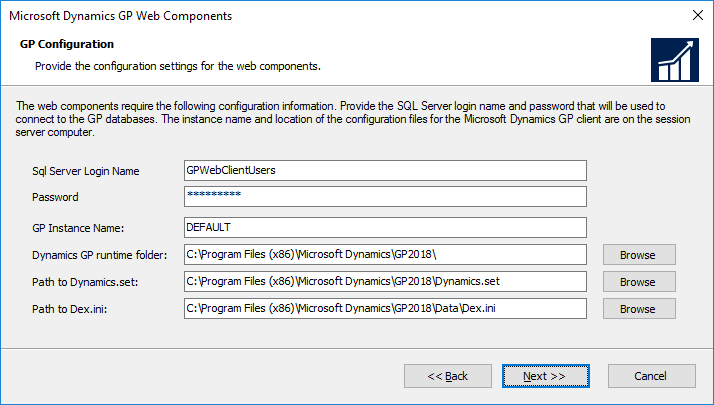
When users are logged into the web client, it connects to SQL Server using a proxy account. The SQL Server Login Name and Password of this proxy account needs to be supplied; these should be exactly the same as those used in the Deploy System database step:
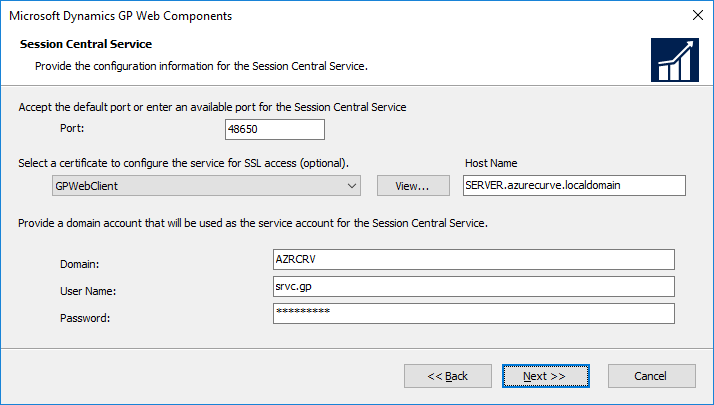
The Session Control Service is the web server process which controls distributes users, as they log in, a session host (client) machine.
While the certificate is optional, I would recommend applying one (which should be the one installed as part of the prerequisites.
Enter the Domain, User Name and Password of the Domain account which will be ysed as the service account for the Session Cnetral Service; click Next to proceed:
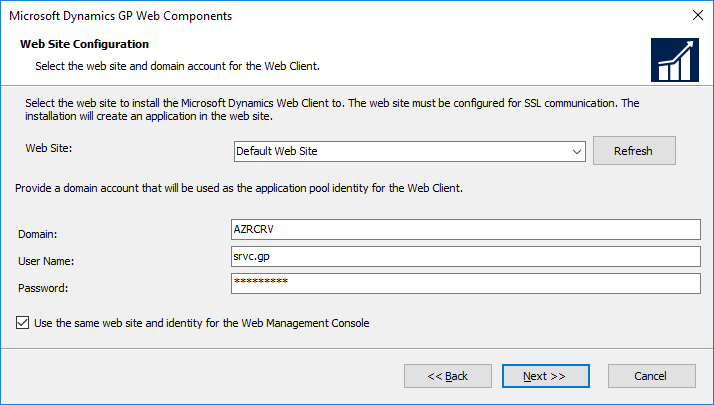
Select the Web Site which will host the web client; the logon credentials will be defaulted from the previous step.
Mark the Use the same web site and identity for the Web Management Console and click Next:
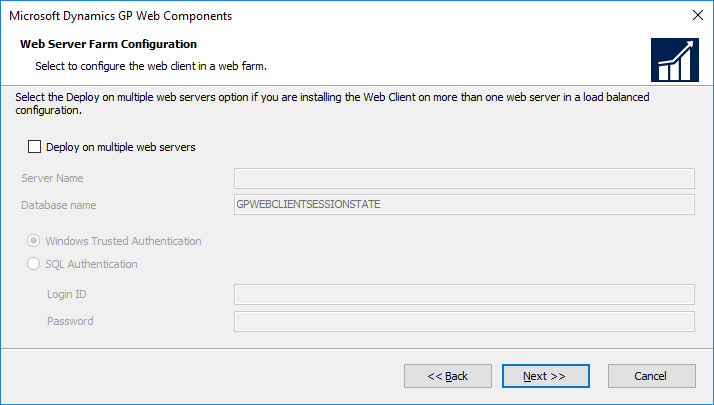
As we’re doing a single-machine deployment, just click Next on the Web Server Farm Configuration step:
The Session Service is the service which runs on the session host machine and interacts with the Web Client Runtime to present the client to the user. As with the Session Central Service select the SSL certificate and click Next:
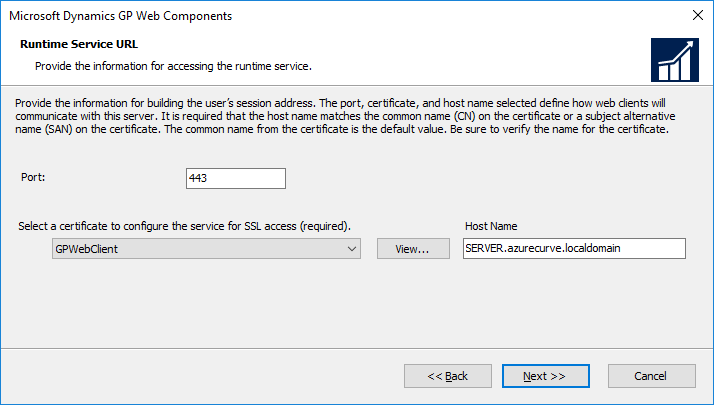
Select the certificate for the Runtime Service URL abd click Next:
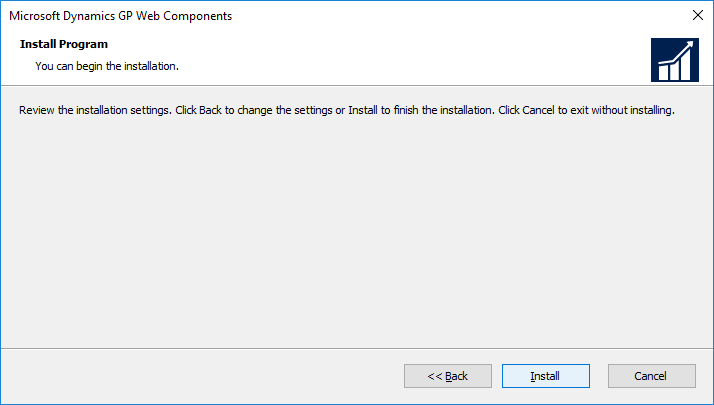
Click Install to begin the installation:
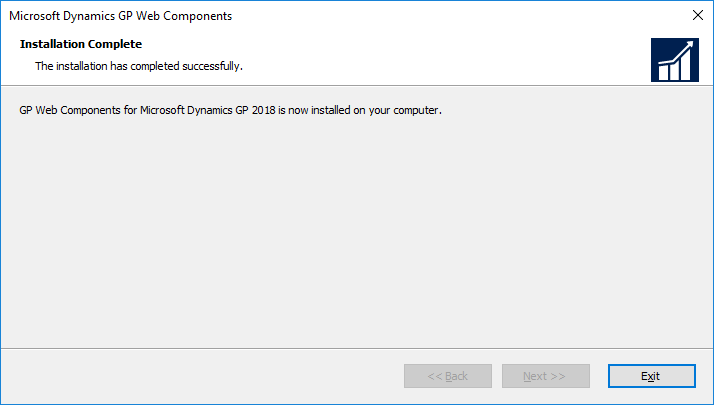
Once the installation is complete, click Exit:
Click to show/hide the Hands On with Microsoft Dynamics GP 2018 R2 Series Index
What should we write about next?
If there is a topic which fits the typical ones of this site, which you would like to see me write about, please use the form, below, to submit your idea.


