 This post is part of a series of posts on implementing Jet Reports and is part of the Jet Professional sub-series.
With the Jet Professional server components installed and configured, the next step is to install the Jet Professional client component.
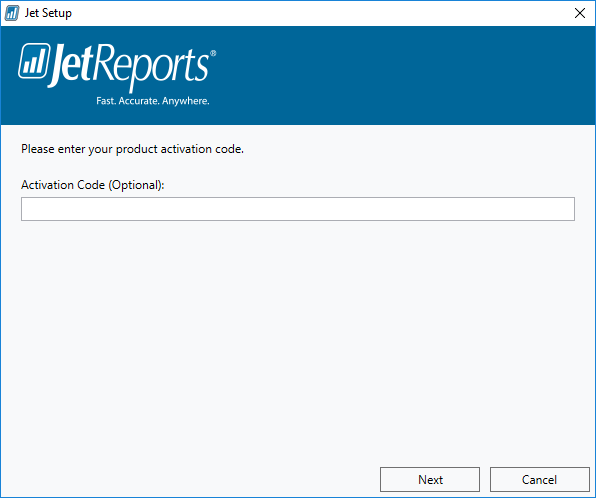
Start the setup utility and enter the Activation Code received from Jet Reports when your order was processed. Click Next to proceed:
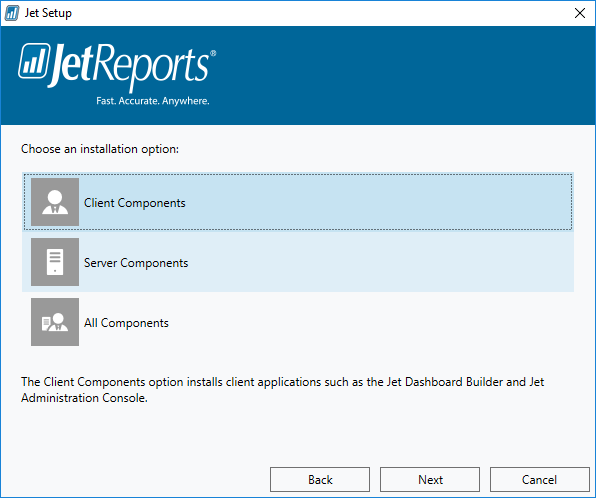
Select Client Components and then click Next:
Unmark all options except for the Jet Excel Add-in and click Next:
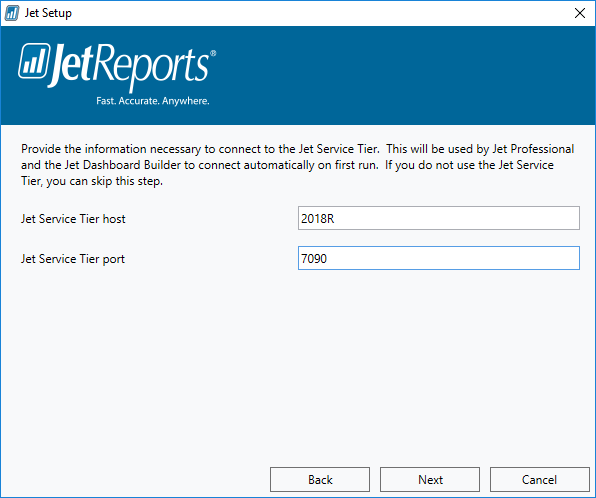
Enter the Jet Service Tier host and Jet Service Tier port used when installing Jet Reports server components. Click Next:
Decide if you want to launch Jet and if a desktop shortcut should be created and then click Install:
I don’t really see the point in creating a shortcut for Jet Reports as all the icon does is launch Microsoft Excel.
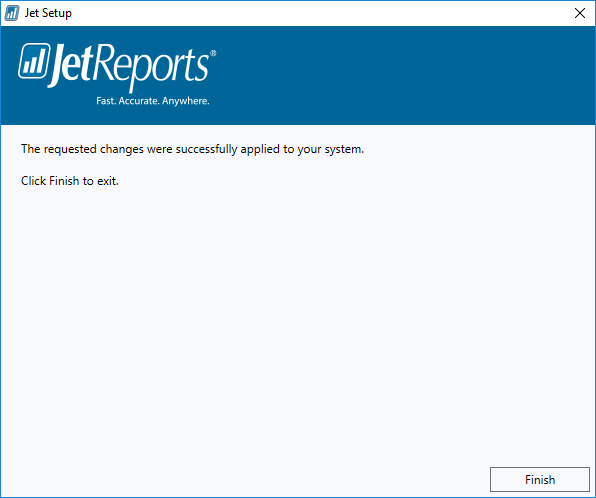
Once the installation is complete, click Finish:
The installation of Jet Reports will need to be completed on each report where reports will be designed and generated.
What should we write about next?
If there is a topic which fits the typical ones of this site, which you would like to see me write about, please use the form, below, to submit your idea.


1 thought on “Implementing Jet Professional: Client Installation”